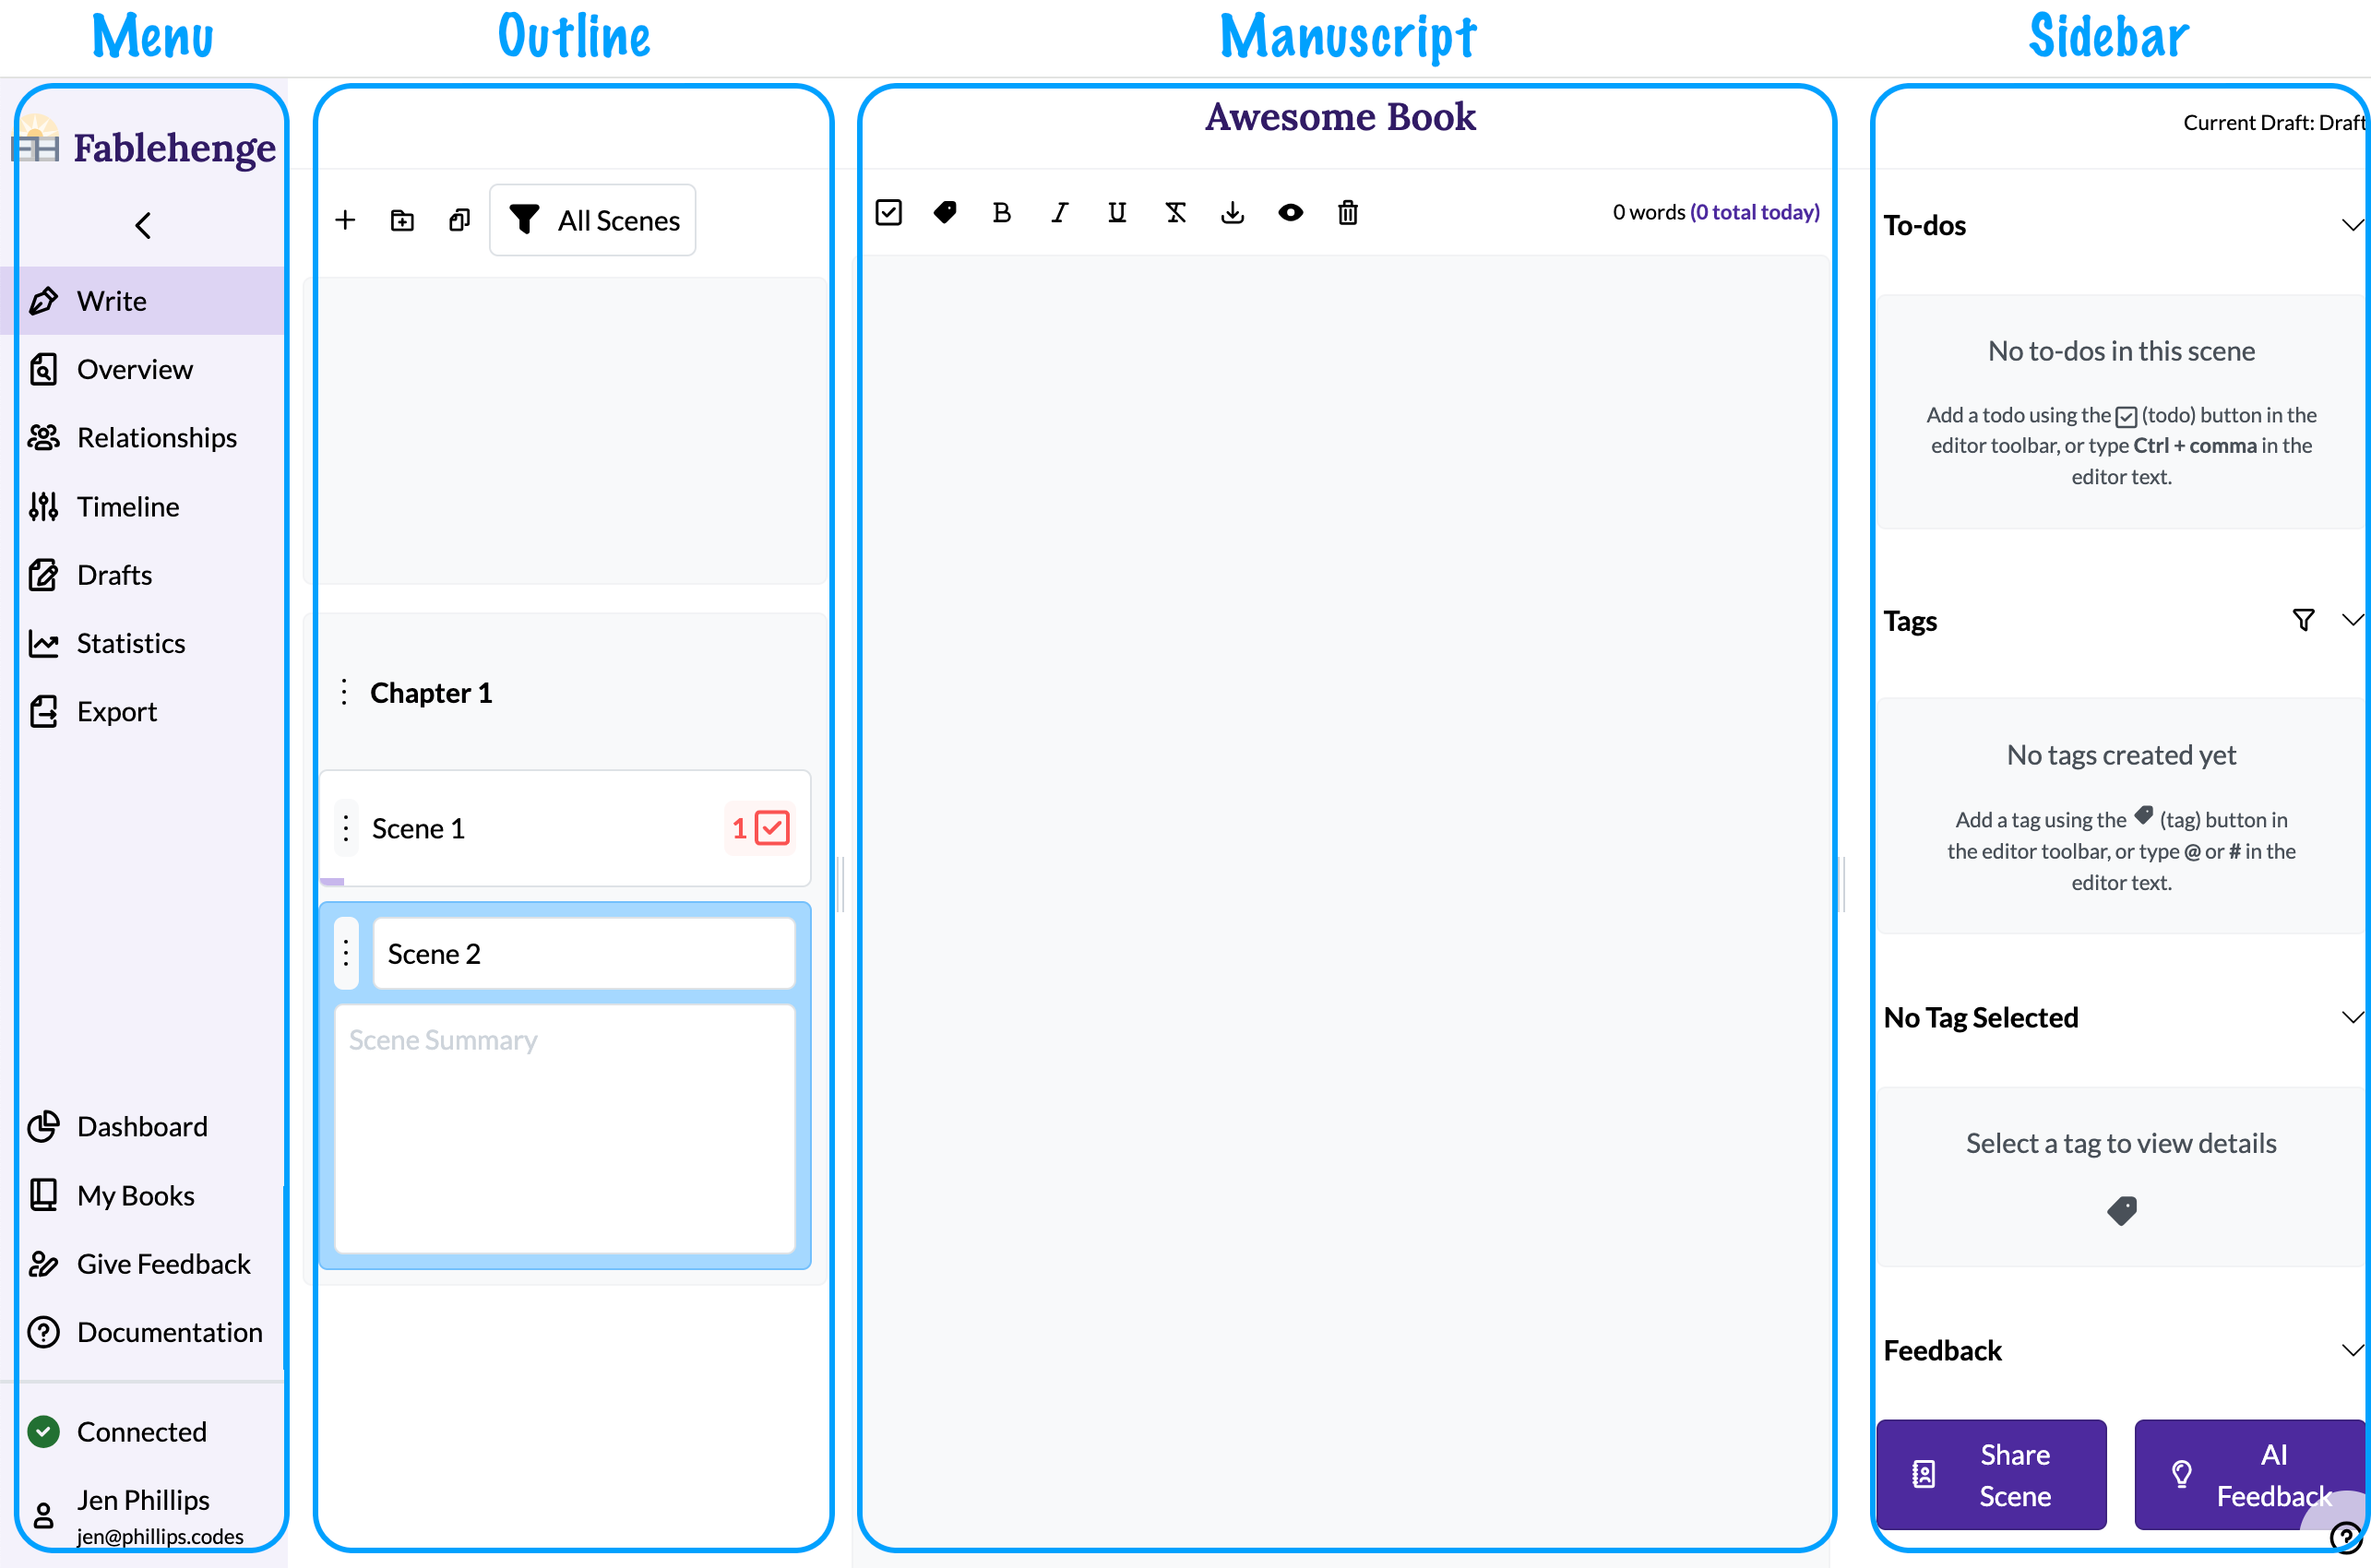
Writing Interface
The writing interface is divided into four distinct areas: The menu, the outline, the manuscript, and the sidebar.
We'll discuss each of these separately, but first, resizing!
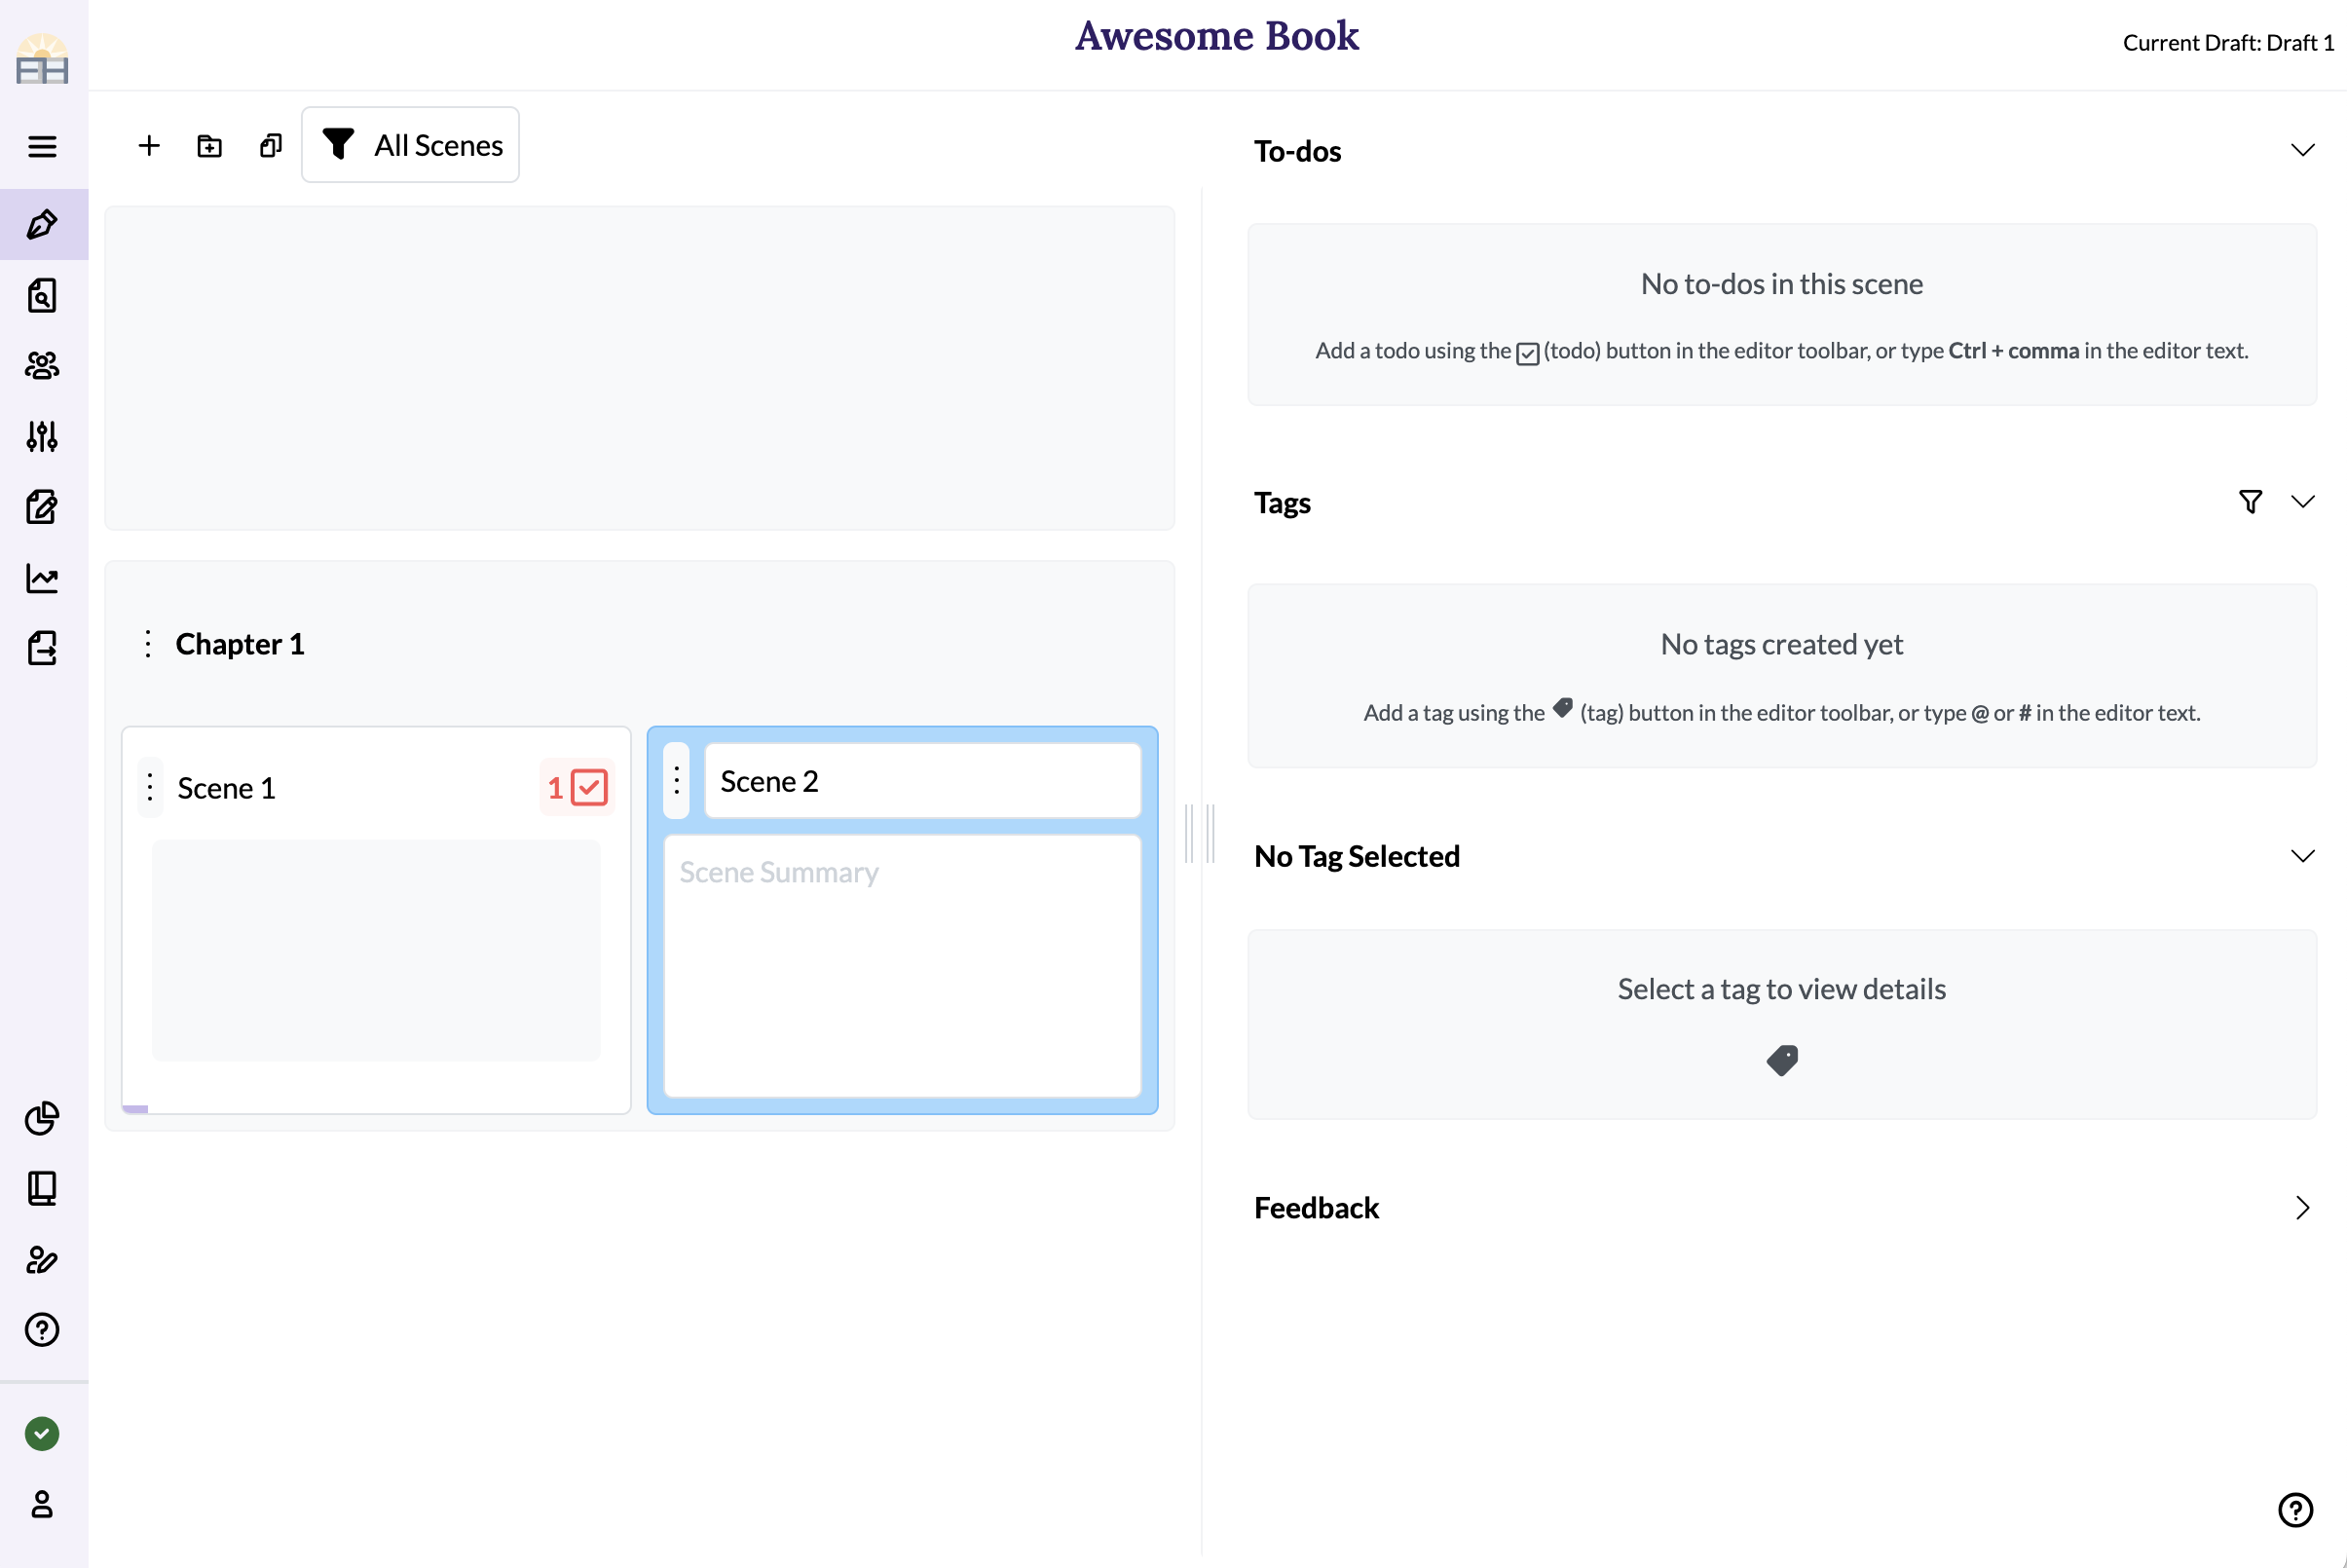
Collapsing the side nav bar
If you are on a smaller screen, you may want to collapse the menu bar by clicking the chevron under the Fablehenge logo:
![]()
When clicked, the menu will be condensed to just show icons:

You can expand it again by clicking the three horizontal lines under the logo. Fun fact: designers refer to this icon as a "hamburger".

Resizing the writing interface
There are two drag handles dividing the outline and sidebar from the manuscript:
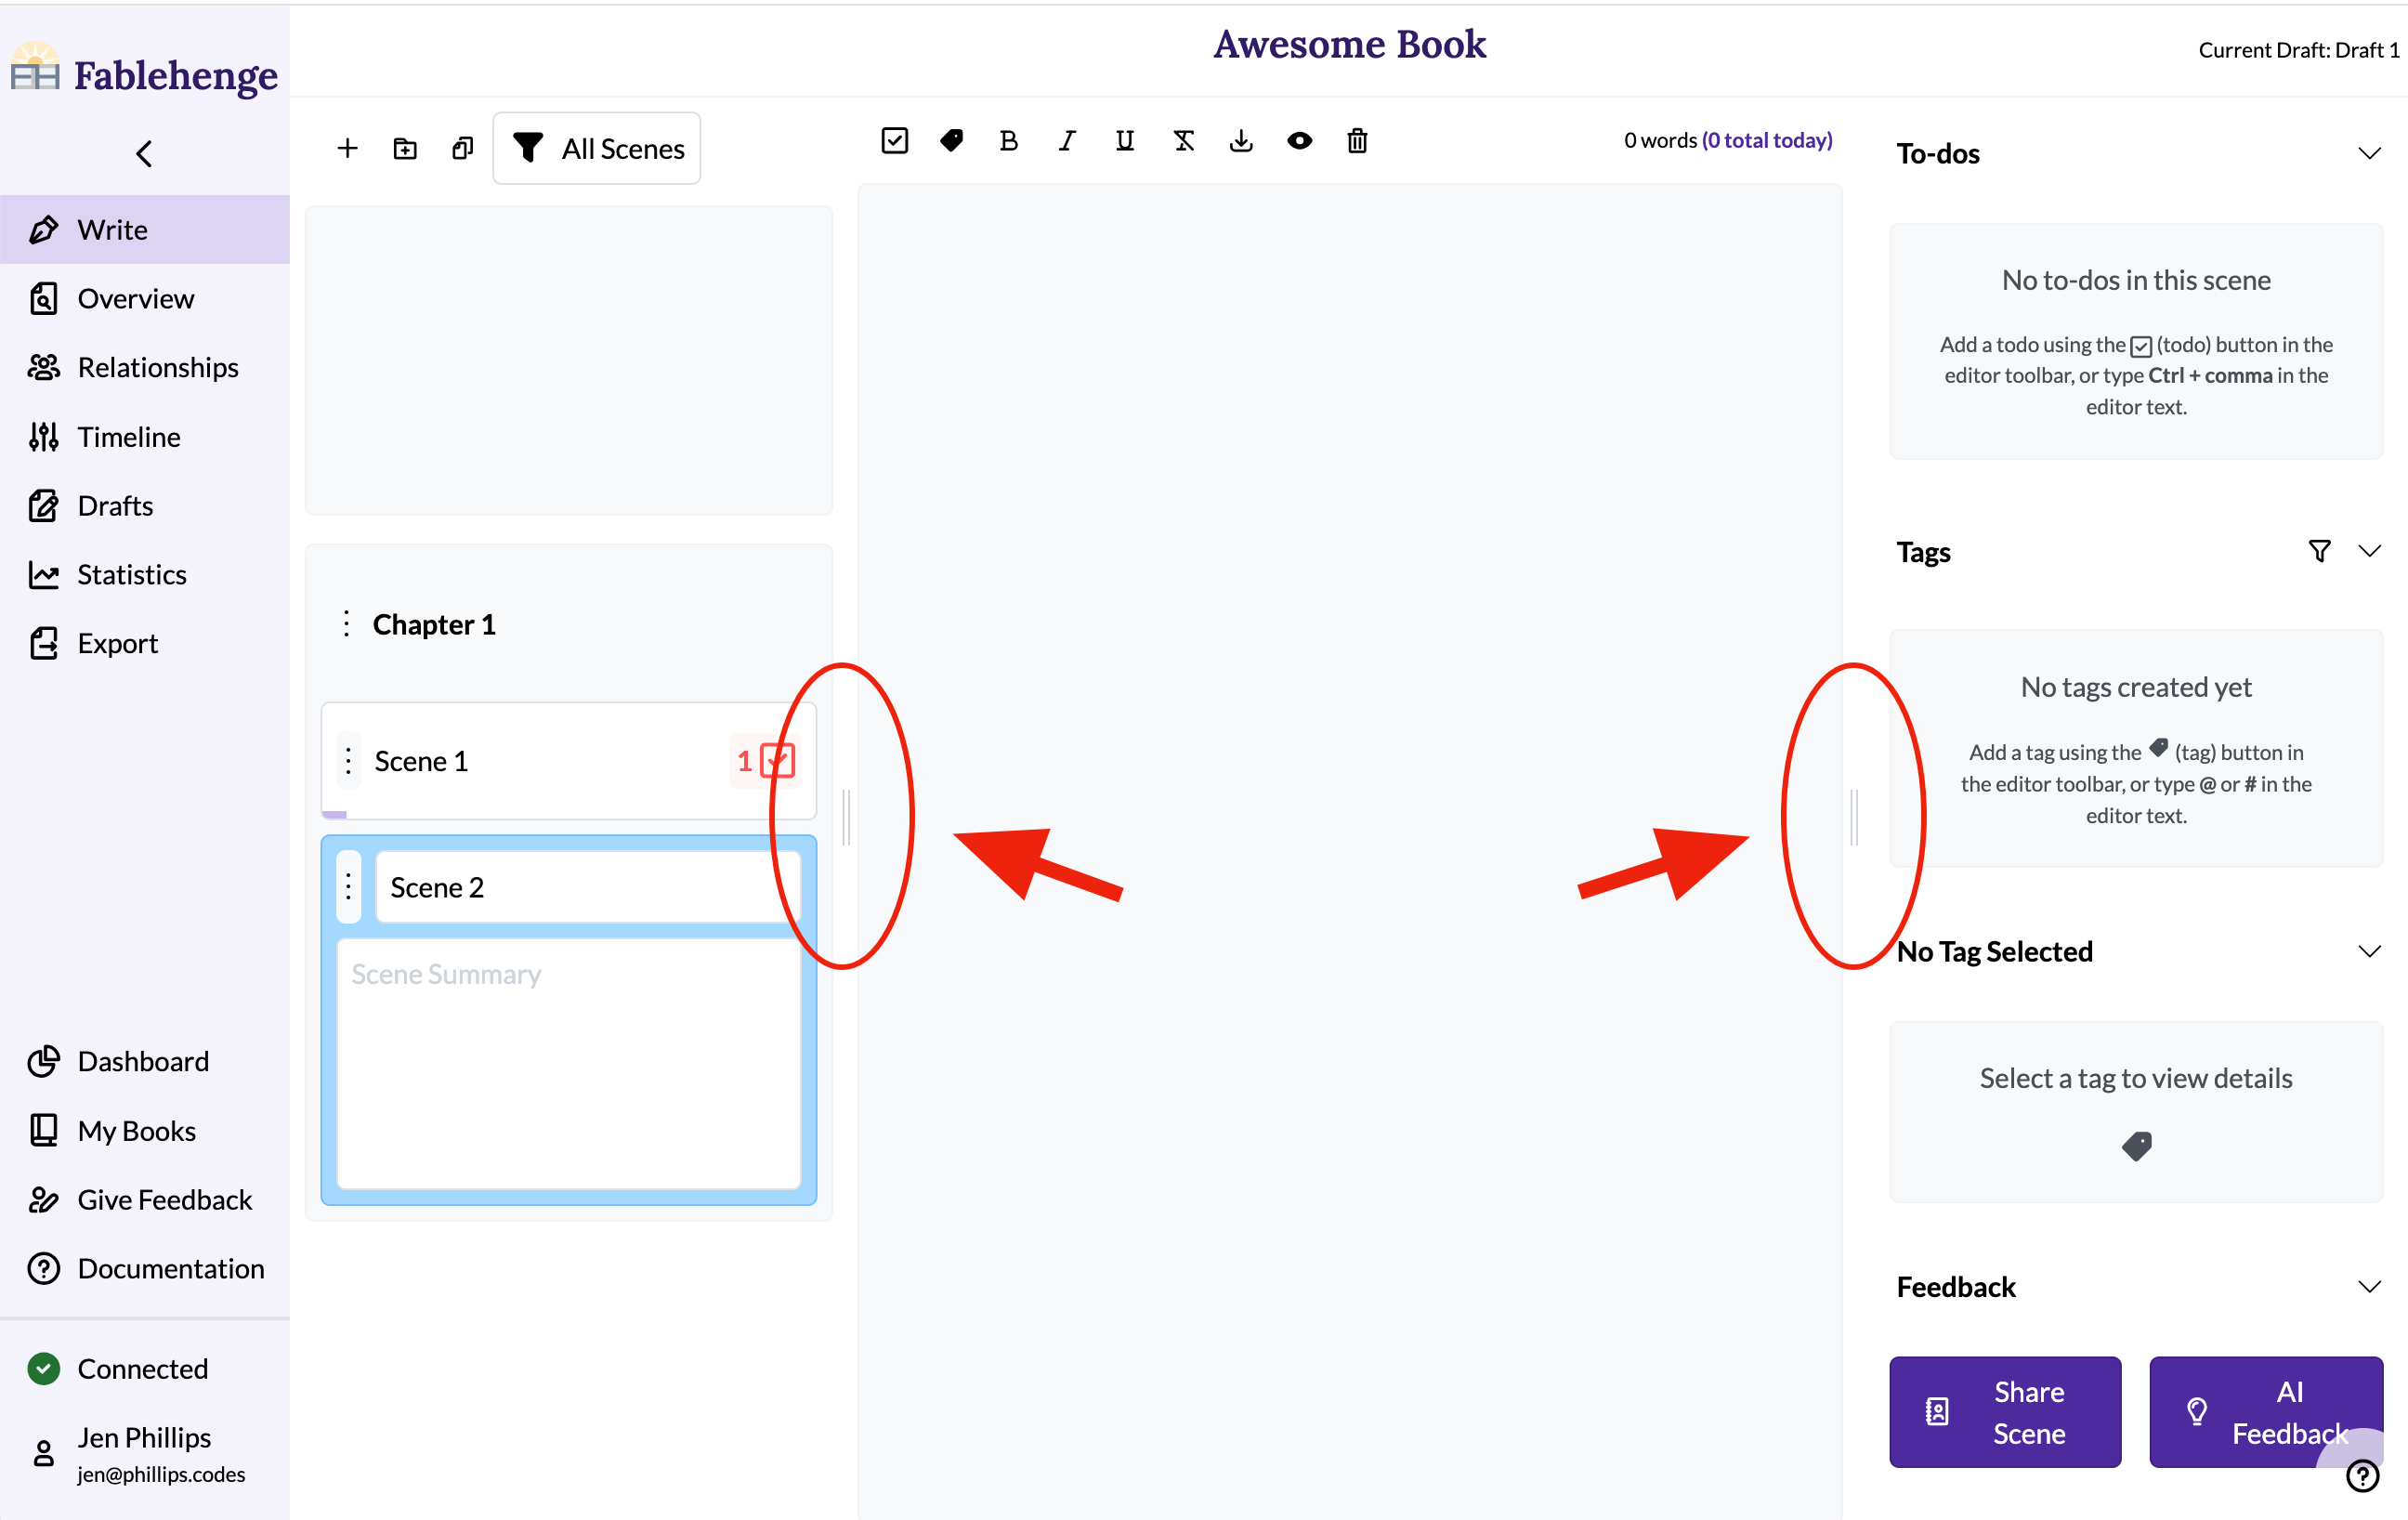
You can click and drag these to resize the three panes depending on the kind of work you are doing.
Zen mode
Prefer a "zen mode" so you can focus on writing? Hide both the outline and sidebar by dragging the handles to their left and right extremities:

Worldbuilding mode
Currently outlining or worldbuilding? Expand the sidebar and outline to hide the manuscript:
(When the outline is wide like this, it automatically switches to an "index card" view, showing some extra information about each scene.)
Each of the interface sections is described in detail in separate pages linked below:
- The outline is where you manage all the scenes in your book. You can create scenes first, then write them (if you're an outliner), or you can create a bunch of text and split it into scenes after the fact (if you're a discovery writer). Of course most authors flip back and forth between the two paradigms at various times, and Fablehenge makes it easy to support both styles.
- The manuscript is where you write the main text for each scene. It is also where you perform most scene-related actions using keyboard shortcuts or the toolbar buttons.
- The right sidebar is where you track the to-dos for your scene and all the tags in the scene, as well as any feedback you have received.