The Manuscript
The manuscript column is where all your real writing goes. This is the text content of your novel; the stuff you really want to publish (though secret scenes are also edited here). We've tried to keep the Fablehenge manuscript view simple, so as not to ruin your flow. In our experience, a full-blown word processor is distracting from what you really want to accomplish when writing a story.
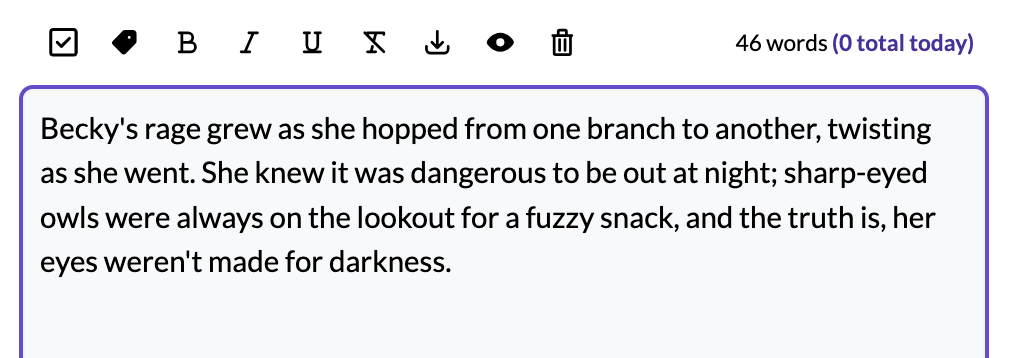
The manuscript column includes a toolbar, a word counter, and the text itself.

Aside: It feels weird to switch between "fiction-writing brain" and "non-fiction writing brain" as I compose this story alongside you!
From left to right, the toolbar includes:
- Fablehenge buttons for creating to-dos and tags.
- Formatting buttons for making your text bold, italic, underlined, or strike-through.
- Outline buttons for splitting your scene into two scenes, marking the scene as secret, or deleting the scene altogether.
- Word counter showing how many words are in this scene, as well as the total number of publishable words you have written today. We find that Fablehenge's tagging features are most useful when scenes are each less than 800 words, so if you have extra long ones, you may want to break them up.
Below the toolbar is the actual manuscript content for this scene.
To-dos and tags are described on their own pages and the outline buttons were discussed on the outline page, but we'll cover everything else here.
Formatting
Fablehenge intentionally supports only the most rudimentary formatting marks. The goal is to focus on your manuscript, not selecting fonts and paragraph styles. Manuscripts do occasionally need italics for things such as internal monologue. Novels don't typically use bold, underline, or strikethrough as much, but they are there when you need them.

The four buttons on the toolbar behave like formatting buttons anywhere. Click once to toggle the given format on for text inserted thereafter. Click again to turn it off. If you have a text selection, clicking the button will toggle the format on the selected text.
Formats can be stacked; if you want bold, italicized, underlined, struck-through text, you can do it. (But you don't want that, right?)
You can also use keyboard shortcuts to toggle formatting when you don't feel like moving your hand to the mouse. The shortcuts are as follows:
| Format | Windows | Macos |
|---|---|---|
| Bold | ctrl+b | cmd+b |
| Italics | ctrl+i | cmd+i |
| Underline | ctrl+u | cmd+u |
| Strikethrough | ctrl+shift+s | cmd+shift+s |
If you forget the keyboard shortcut for a given button, you can see it in the tooltip for the format button if you hover your mouse cursor over it.
Word Count
The right side of the toolbar shows the word count for the current scene as well as the total number of publishable words you have typed today:

For normal novel writing, we recommend keeping scenes below 800 words, but do whatever works best for your flow. It's totally fine to break one logical scene into multiple Fablehenge scenes, especially if two parts of the logical scene feature different characters or other tag types.
The word count updates dynamically as you type. If you set a daily goal, the total count will change colour depending on whether you have met your goal for the day.
If you want to see the word count of your entire story, rather than just one scene, have a look at the statistics page.
The Manuscript Text
This is where you write your story. Only the text for the current scene is visible. Even though this is where you spend the bulk of your time, there isn't much else to say about it! It behaves like any word processor: Press a key and a symbol shows up in the box at the current cursor position.
When a Chapter is selected
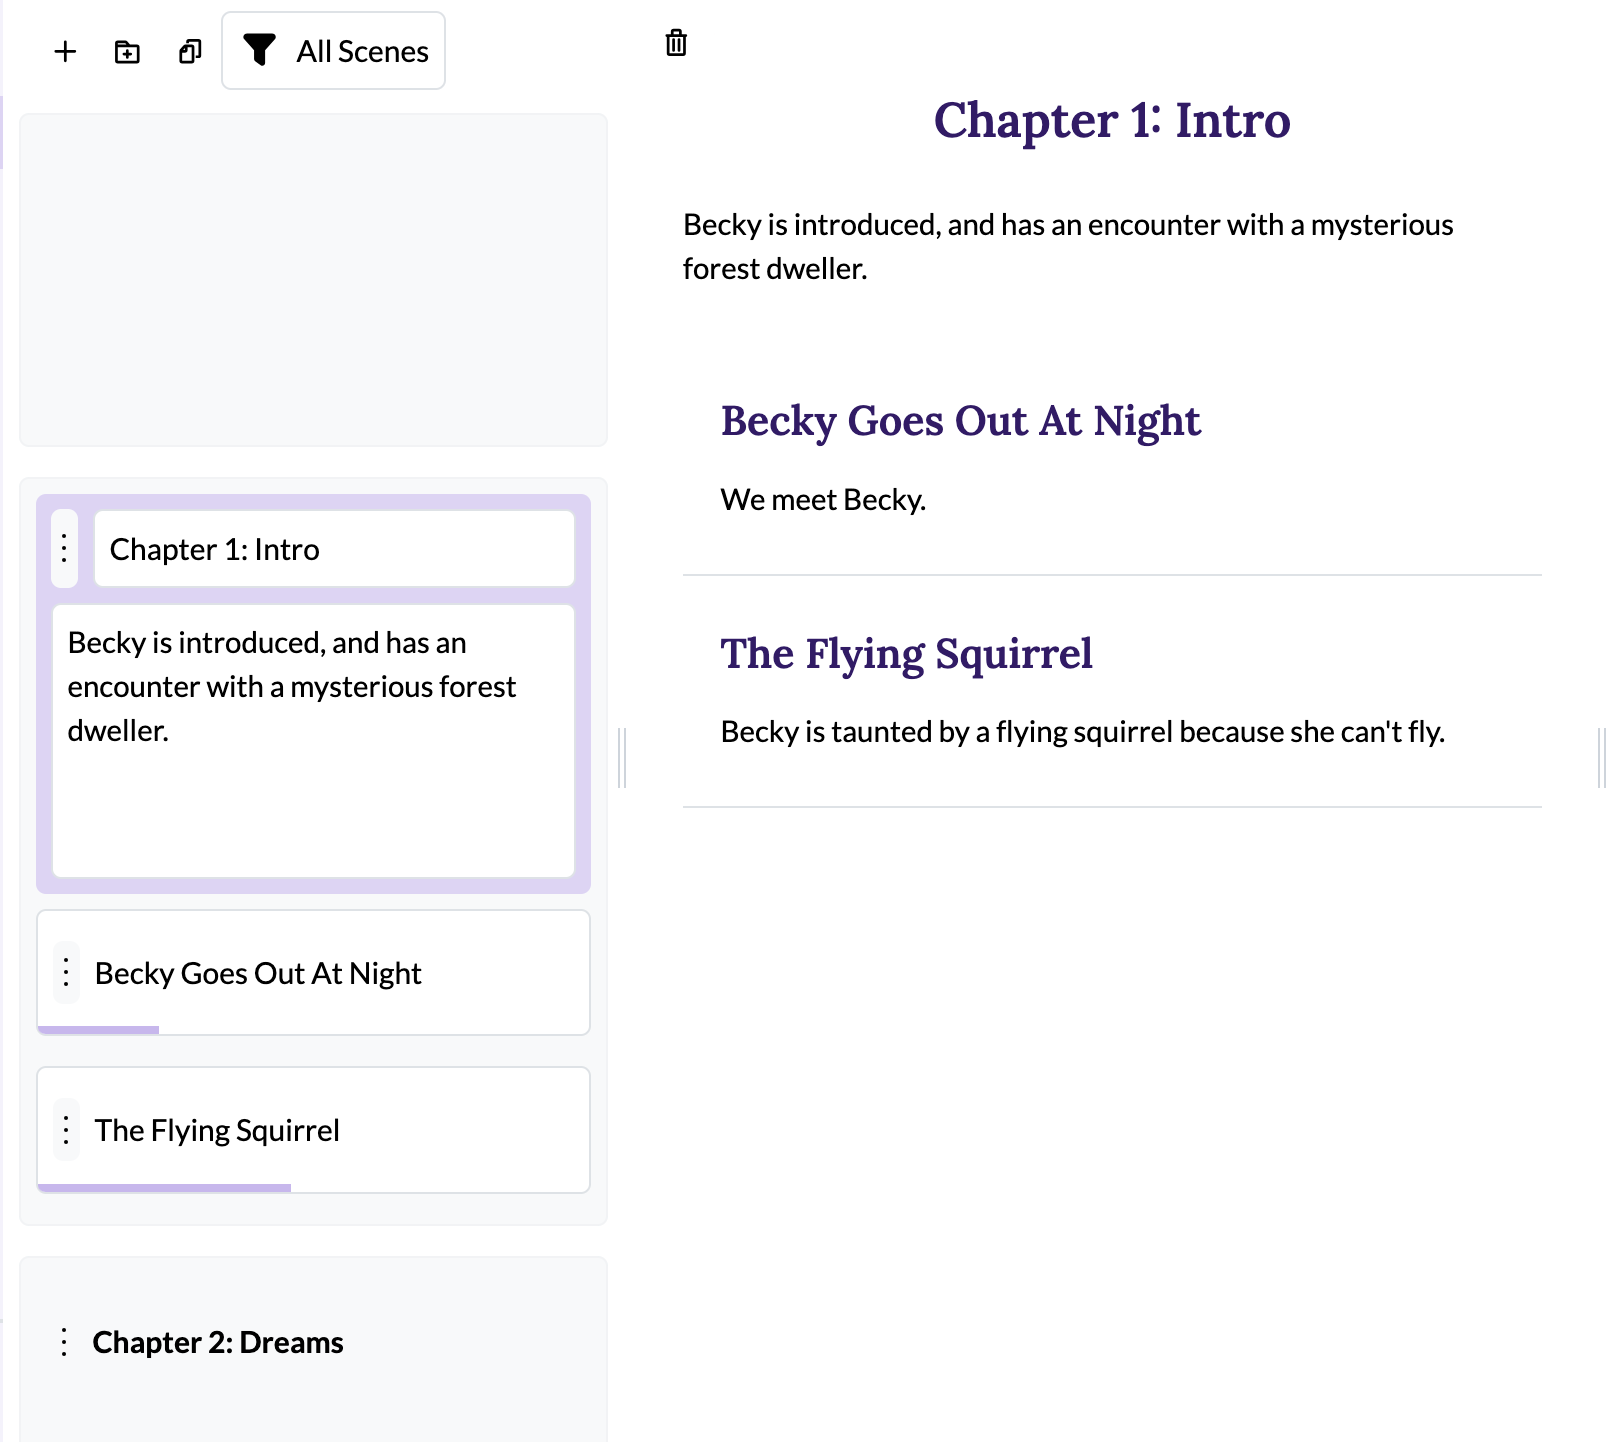
When a chapter is selected in the outline, you aren't able to enter text (text can only be added to scenes). Instead, the central panel will show an overview of the scenes in that chapter, including their summaries.
